**CUSTOM CANDY TABLE SET-UP DECOR AND YOUR FAVORITE BULK CANDY*********
***

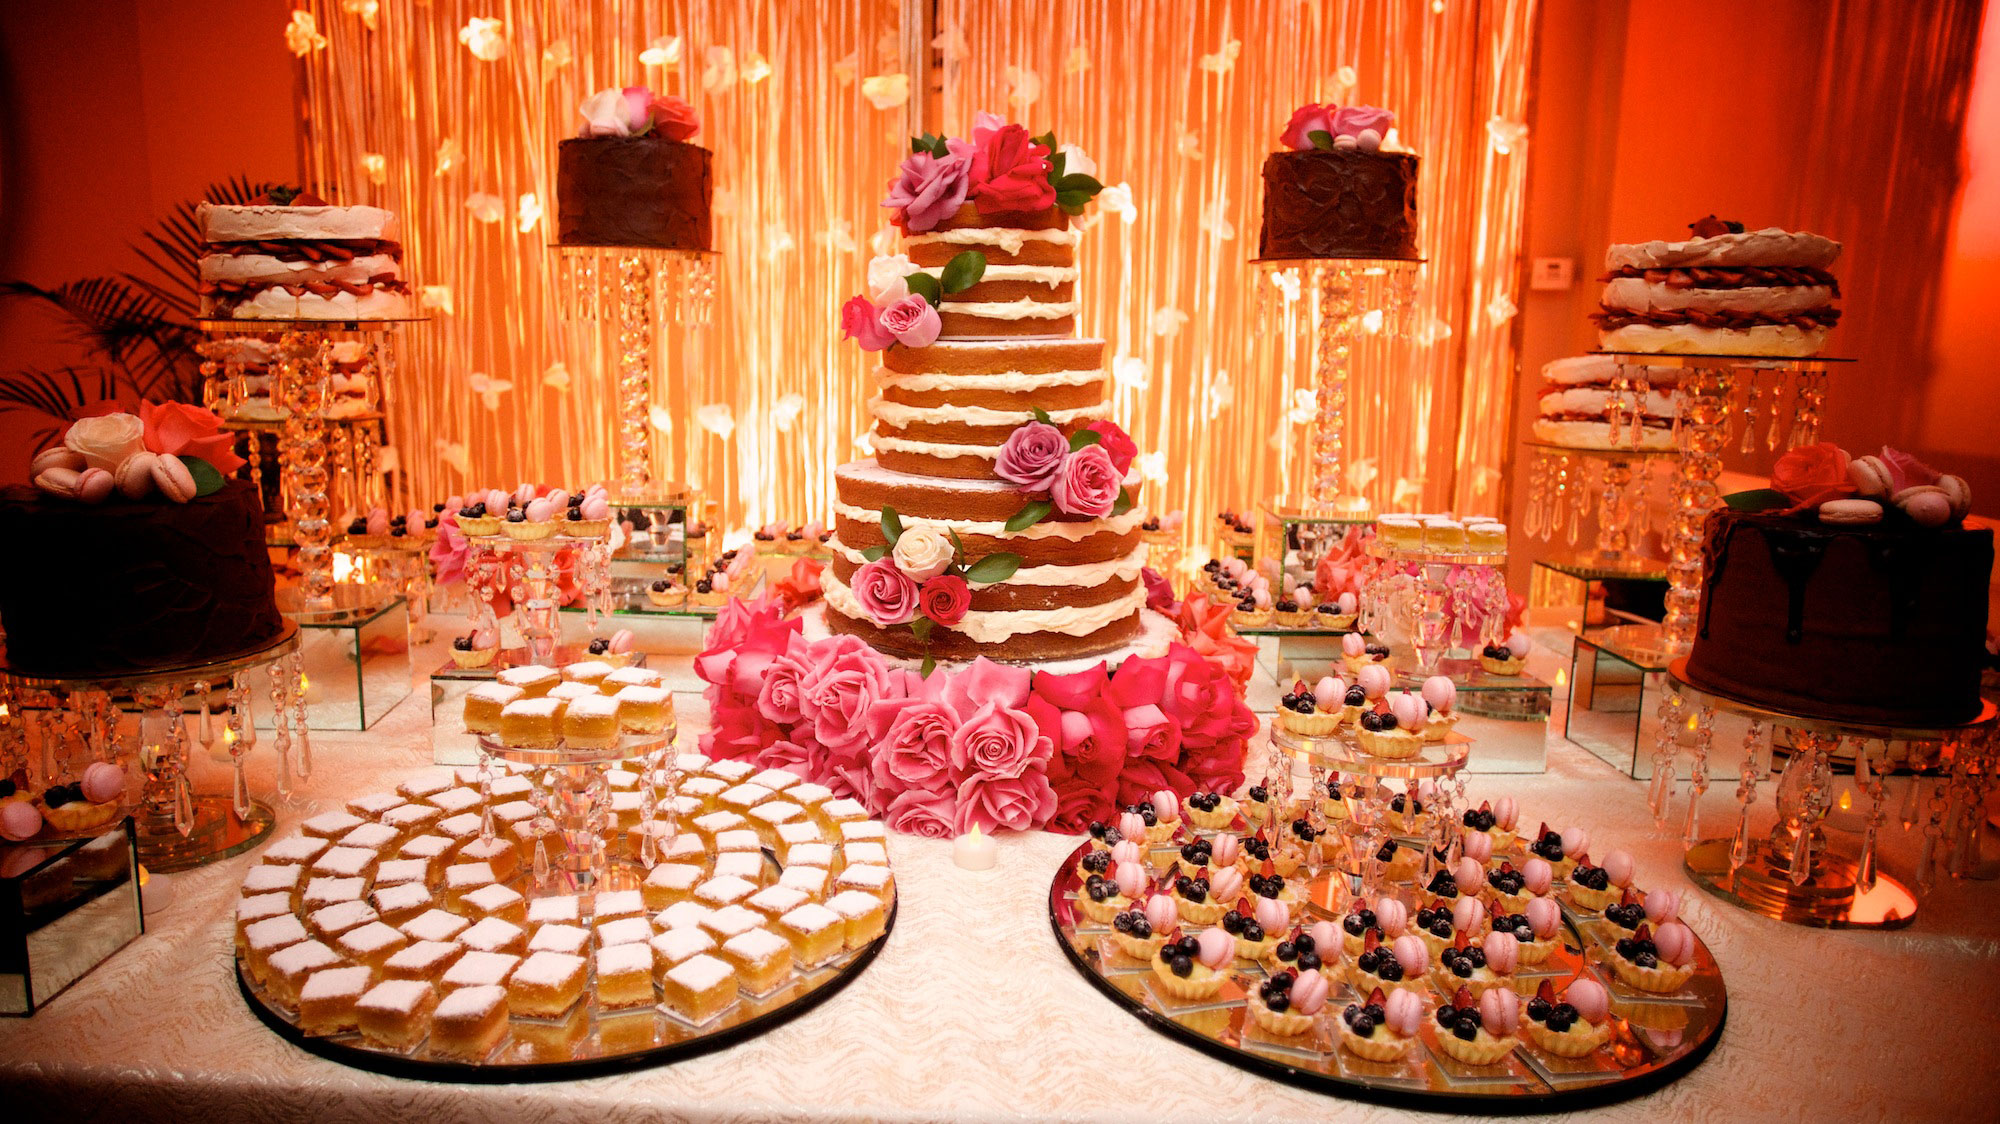
Keep in touch with your theme, colors, flavors, season of the year. Find unique plates, platters, trays, and towers. Use custom, cute , give everything a goumet name. Go with your theme, if its elegant, casual, beachy, cookout, etc.
ITEMS FOR YOUR TABLECAKE POPSCHOCOLATE OREOSCHOCOLATE STRAWBERRIESCUSTOM CUTOUT COOKIESMINI CAKESCOOKIE CUPSJARS OF CANDY TAKE HOME BAGS AND BOXESHOT CHOCOLATE FOUNTAINCHOCOLATE PRETZELSMINI PIESLARGE AND SMALL MACRONSLARGE AND MINI CUPCAKESDONUTS, MINI DONUTS, DONUT HOLESDONUT HOLE TOWERDONUT TOWERGOURMET BROWNIESGOURMET CANDY APPLESMILK AND COOKIESYOUR HERITAGE FOODS AND DESSERTSICE CREAM/SUNDAE BAR/CARTYOUR FAVORITE DESSERTS, CAKES, PIES, COOKIESBAR CANDY TOWERSGOURMET COOKIESSMORES BARMINI CHEESECAKESALL YOUR FAVORITE PENNY CANDYHAVE SOME OF EVERYTHING ANDKEEP IT LOOKING FULL*************************************WE HAVE ALL THE BULK CANDYS, CANDY BARS AND MORE....
*********CUSTOM CANDY BAR WRAPPERS....**
*******************
*
************************** *****
**********************************CUSTOM CHIP BAGS , WATER BOTTLE LABELS , T SHIRTS, BANNERS, SELFIE PHOTO FRAMES, STEP AND REPEAT AND MUCH MORE...***
*****
**********************************CUSTOM CHIP BAGS , WATER BOTTLE LABELS , T SHIRTS, BANNERS, SELFIE PHOTO FRAMES, STEP AND REPEAT AND MUCH MORE...***

Keep in touch with your theme, colors, flavors, season of the year. Find unique plates, platters, trays, and towers. Use custom, cute , give everything a goumet name. Go with your theme, if its elegant, casual, beachy, cookout, etc.
*Rugrats inspired favor chip bags. These bags can be filled with chips, cookies, toys, cotton candy and more! ★ No edible or tangible item will come with assembled bags. You are responsible for filling the bags with candy, toys or PACKAGED snacks when you get them. Adding snack directly inside will result in grease stains. ★ASSEMBLED/UNFILLED BAGS COME WITH A SEAL AT THE TOP. TO SEAL THE BAG, SIMPLY PEEL OFF THE SEAL TO REVEAL THE ADHESIVE AND PRESS CLOSED. OTHER CHARACTERS ALSO AVAILABLE....
************African American Boss Baby inspired juice pouch label. Simply adhere to the front or back of your juice pouch or Capri Sun label. PLEASE READ BEFORE YOU PLACE AN ORDER: PROCESSING TIME The time I need to prepare an order for shipping varies. For details, see individual items. ESTIMATED SHIPPING TIMES Actual delivery time will depend on the shipping method you choose. (Keep this in mind when ordering). Shop Memories Made will NOT assume responsibilities for any order that ships on time but arrives late for your event due to your choice of shipping method. LOST OR STOLEN PACKAGES Shop Memories Made will not assume responsibility for lost or stolen packages. Please, contact me ahead of time about insurance options on packages. RETURNS & EXCHANGES I don't accept returns, exchanges, or cancellations once order is shipped. But please contact me if you have any problems with your order.*****************KOALA INKJET PAPER FOR CHIP BAGS AND MORE ***

***
*****************
*****************DRINK BOXES AND MORE.....*******************
*CANDY BAR WRAPPERS...*****INCLUDES: • Sold in sets of 10 ONLY. • Come pre-cut and are peel-n-stick. • Candy bars are NOT included. These fit regular Hershey's 1.55oz bars. PLEASE DO NOT FORGET TO EMAIL ME YOUR WORDING AND PHOTO DURING OR AFTER PURCHASE.
************************CUSTOM WATER BOTTLE LABELS.......Sold in sets of 10. Come pre-cut and are peel-n-stick. Water Bottles NOT included. Size is 8" x 2.127" inches. Fit great on 16.9oz water bottles. PLEASE DO NOT FORGET TO EMAIL ME YOUR WORDING AND PHOTO DURING OR AFTER PURCHASE......***************PERSONALIZED ELMO T SHIRT............
.***************MORE BANNERS AND T SHIRTS...........Decorate in style with this personalized custom banner! Very easy to hang with tape and display at your party. The banner is printed on a rich glossy coated paper with vibrant inks.
Banner Size: 48" x 24" or 60" x 42"
How to Customize: Click on the Select Options at the top right and enter your details.
Shipping: The banner ships rolled. ....*********************PERSONALIZED STEP AND REPEAT BACKDROPS.....................Easily set up a stylish photo area for you next party with a paper photo backdrop! This personalized paper photo backdrop comes with 4 grommets added to the top and 2 grommets added to the bottom for easy hanging with push pins or removable command hooks.
↓↓↓↓↓↓↓↓↓↓↓↓↓↓↓↓↓↓↓↓ *******
Choose in the select options area at the right.
*** Purchase mounting and get your selfie frame ready to use out of the box. ***
This Photo Social Media Frame Photo Booth Prop Poster is just what you need to make your celebration feel extra fun! It will be CUSTOMIZED just for you, PRINTED and shipped to you.
-----------------------------------------------------------
DIY ASSEMBLY INSTRUCTIONS for mounting yourself:
1. Purchase a foam board or use cardboard (size 24" x 36")
2. Cut out the center of the poster
3. Affix the poster to the board using a GLUE STICK on the back of the poster. DO NOT USE Elmer’s glue or too much glue because THE POSTER WILL BUBBLE UP AND NOT DRY SMOOTH AND FLAT.
4. Let dry thoroughly 5. Using a straightedge and a craft knife or utility knife carefully cut out the center of the board. ************
*MORE THEMES AND DECOR...***********
- Excellent Gift: Eiffel Tower statues can be as excellent gift for your families, kids, lover, friends, and it's can give them a lot of memory and imagination about Paris.
- Eiffel tower Great for the food table,shelf,bathroom shelf,fireplace,display,Paris themed room,living room,home or work,Paris-themed bathroom,hall passes,toilet paper holder.As a cake topper for wedding,Paris theme parties,birthday party.A centerpiece to french themed dinner,ring stand,collection,gift for friends,bridal shower decorations.
Shipping a cake may seem like a tricky task, but there are lots of things you can do to help make sure the cake arrives neatly and without damage. When you go to package the cake, place it in an insulated bag with ice packs before putting it in a new cardboard box that's sturdy. Place tape around all the edges of the box to create a cooler that keeps the cold air in and choose a shipping option that only takes 1-2 days if possible. By packaging the cake with lots of padding, your cake is more likely to arrive in great condition.
Part1Packaging the Cake
Part1
 1Freeze the cake for 2 days before shipping. This will keep the cake fresh as it travels and will prevent the icing from smudging during transport. Place the cake in the freezer so it's level and avoid placing things on top of it as it freezes.[1]
- When making the cake, avoid using ingredients that may spoil during transport, like cream cheese frosting, custard, or fruits, just in case the cake begins to thaw.
 2Wrap the cake in plastic wrap to create an airtight seal. Begin wrapping the frozen cake in plastic wrap, going around all the edges a couple of times. Wrap the plastic wrap in all different directions to ensure it’s completely covered. This creates a tight seal so no air can get in, keeping it as fresh as possible.[2]
 3Set the cake in an insulated bag or box with ice packs to keep it cold. Place the wrapped cake in an insulated bag that keeps food cold. Set a few ice packs in the bag around the cake to keep it frozen as well. Once the cake is in the bag, use tape to seal it off so the cold air doesn’t escape.[3]
- If you order frozen foods to be delivered, these often come in insulated bags with ice packs that you can use for the cake, or they can be purchased at a grocery store or big box store.
- As an alternative to ice packs, consider using dry ice. Wear gloves if you’re handling dry ice, as it will burn your skin.
- Use a container that's tight and fits the cake nicely so it's doesn't move around too much during shipping.
 4Place the cake in a new sturdy cardboard box to ship it. Set the insulated bag with the cake in it in a brand new box the right size for the cake. There doesn’t need to be lots of free space around the cake, but the box shouldn’t be squishing any part of it. Choose a cardboard box that’s sturdy and corrugated to ensure a safe delivery.[4]
- USPS has free 2-day shipping boxes that come in varying sizes that you can use to ship your cake in. While the box itself is free, you'll pay a flat rate for shipping.
- USPS has free 2-day shipping boxes that come in varying sizes that you can use to ship your cake in. While the box itself is free, you'll pay a flat rate for shipping.
 5Fill in any extra space with bubble wrap or paper. Once the cake is placed in the box, fill in the box so there isn’t any space for the cake to move around. Use bubble wrap, newspaper, tissue paper, or even plastic bags to fill in the empty spaces, creating a snug cushioning for the cake.[5]
- Place the padding on all sides of the cake to protect it.


Part2Sealing and Labeling the Box
Part2
 1Use packing tape to seal off the edges of the bag and box. After using packing tape to seal off the insulation bag, tape up the box as well. Place the tape on each open edge of the box, creating a fully sealed cooler so no cold air is able to escape.[6]
- Tape the top, bottom, and each edge of the box using packing tape.
- Use multiple layers of the tape to create a secure seal.
 2Attach the address and shipping labels to the box. Either hand-write the address on the box to bring to the post office to pay for a shipping label, or do your shipping label online to make the process easier. If you’re printing out your shipping label with the address on it, tape the label on using packing tape.
- Make sure the address and shipping barcode are clearly visible on the box.
 3Write “Fragile” on the box so postal workers know to handle it carefully. Once your box is all taped up and labeled, use a permanent marker to write “Fragile” on the top and sides of the box. You might also label which side is up so that postal workers know to handle the box carefully as well as which side to set it down on.[7]
- If you have a sticker that says “Fragile,” this would work as well.


Part3Shipping the Cake
Part3
 1Choose 1-2 day shipping to ensure your cake gets to its destination quickly. Since you’re shipping food, it’s important that the cake spends as little time traveling as possible. Choose a shipping option that only takes 1-2 days so that your cake doesn’t fully thaw by the time it arrives at its destination.[8]
- If you choose a flat-rate box from USPS, your cake will arrive in 2 business days.
- Fast shipping options often include overnight shipping, next-day shipping, or two-day shipping.
 2Send out the cake early in the week to avoid weekend delays. Monday, Tuesday, or Wednesday are the best days to ship out your cake to ensure it arrives quickly. If you ship it out on a Thursday or Friday, it’s likely that your cake will get stuck over the weekend when things aren’t being mailed.[9]
- If you ship it out on a Wednesday, get to the post office early in the morning to make sure it’s sent out that day.
 3Track the cake as it’s being delivered to keep an eye on its progress. Most mail or shipping services will give you a tracking number for your package. Type this number into the service’s online tracking system to check exactly where your cake is and when it gets delivered.[10]
- Consider giving the tracking number to whomever you’re shipping the cake to so they can track it as well.


- QuestionCan I send food through the USPS?wikiHow Staff EditorStaff AnswerFood is considered a “perishable item” by the USPS. You are allowed to ship food as long as you’re able to package it in such a way that it won’t cause a health hazard or other problems (like a nasty smell if it starts to go bad!).
- QuestionHow do I take my cake on a plane?wikiHow Staff EditorStaff AnswerYou can bring cake on a plane, but you may need to let airport security inspect it first. Make sure the cake is unwrapped and in a box that can easily be opened. You may need to designate the cake as either a carry on or a personal item in order to bring it on board.
- QuestionHow can I ship chocolate without melting it?wikiHow Staff EditorStaff AnswerPlace the chocolate in an insulated mailing box while the chocolate is still cold. You can also add cold packs to the box to help it stay cool even longer. Make sure the chocolate is well-sealed inside the box so that no moisture can get in.
- QuestionHow should I ship a German chocolate cake?Community AnswerIt would be the same as the article above: Freeze it first. It should hold up very well.
- QuestionDo I need to freeze a coffee cake before shipping it? And should I use the gel packs?Community AnswerYes, as long as the cake is freezer safe, you should always freeze before shipping, it will preserve both the freshness and shape. If the cake is not going via overnight shipping, then it might be a good idea to use gel packs.
- QuestionCan I use dry ice to keep the cake cool after freezing it while it is being shipped?Community AnswerYes, you can! Usually I add 5 lbs per box. Just make sure you use plenty of bubble wrap so the bottom of your box does not get wet.

No comments:
Post a Comment